
![]()
Main Relay
Fixing your PGM-Fi Main Relay.
Symptoms
Problems starting the car, usually after a short run (when the interior is warm), though in bad cases the car may fail to start at any time. A classic time for the problem to occur is at the petrol station, or if you park for a minute to get something from a shop. If the car is parked for a long period, the interior usually has cooled enough for the joint to make contact again, and you won't notice a problem. As the cabin temperature is a major feature of this problem, it might appear worse on cold or rainy days when you have the heater running to clear the windows etc. Extremely cold temperatures can also cause the problem to be more apparent.
The engine will usually fire, run for a split second and then stall, as the remaining fuel under pressure is used up. When you turn the ignition key to position II (ignition on) you should see the PGM-Fi indicator on the dash light up and extinguish. Exactly timed with this lamp, you should hear a click and the fuel pump turn on and off. If you do not hear a click and the fuel pump, then the main relay is likely to be at fault.
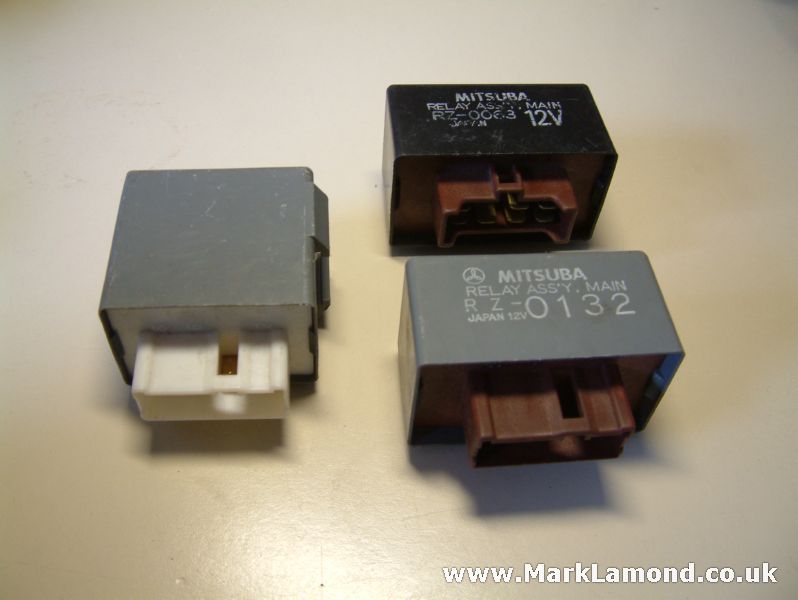 |
A collection of main relays. The black relay is used around 1985-1991, the small grey type are used from 1992-1995 and the large grey relay is used from 1995-2000+ |
The later 1995-on relays rarely go wrong, they use a
different design to the earlier version. Click here to
take a look inside.
The Cause
The problem is caused by dry joints in the PGM-FI main relay. This relay controls power to the ECU, and the fuel pump. Without power to the rest of the fuel-injection system, or fuel pump, you won't be going anywhere!
Below is a diagram of the PGM-FI system fitted to Honda's first fuel injected engine as fitted to the MK1 CRX. PGM-FI has constantly evolved over the years but the function of the relay is the same in all Honda cars - to supply power to the fuel pump, and fuel-injection components.
On recent cars such as the
2001 Civic the current draw by the main relay is
monitored by the ECU, this way the ECU can tell if the
main relay is faulty.
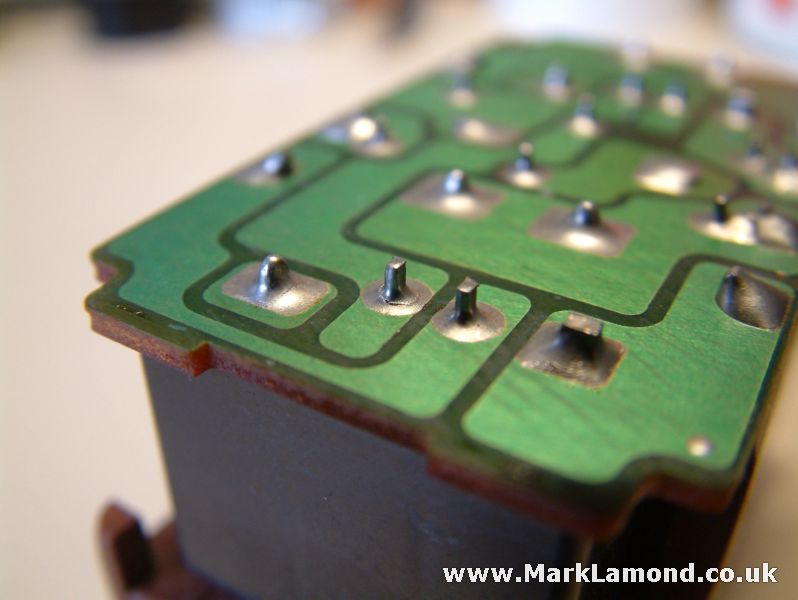
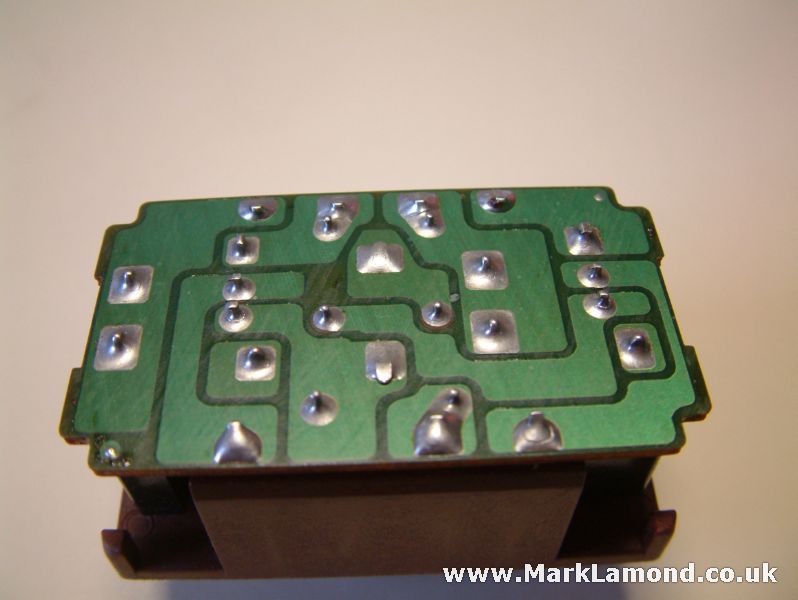
Here are a few examples of what dry joints looks like. You can see the fine crack in the solder between the pin and PCB track - notice the others are OK.
|
|
Here we have a dry joint on relay #1. |
|
|
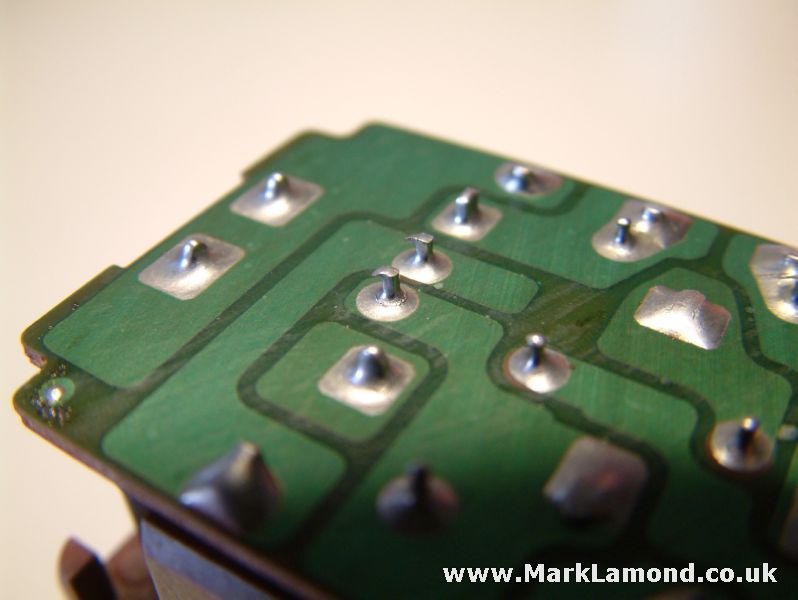
And another on relay #2. |
|
|
Notice that the other joints are okay, it is always the two joints pictured above that fail. |
Dry joints are caused by vibration and changes in temperature cracking the solder round a joint which has not flowed correctly. They have a characteristic look, and sometimes are very hard to spot, even to a trained eye.
Remember it is not the actual relay itself that is at fault, just the soldering. To repair the fault all we need to do is remove the old solder and re-apply fresh.