
![]()
A/C Belt or Tensioner Replacement
Replacing your A/C belt or tensioner bearing.
Removal
Although the vehicle used in this case is an CRX SiR, the process is the same for a wide variety of Hondas.
As the car here is a JDM SiR, we will remove the power
steering pump to gain a little more access to the A/C
components. Also, as the power steering belt is the
first on the pulley you will have to remove the belt
first anyway so it's sensible to replace it at the same
time.
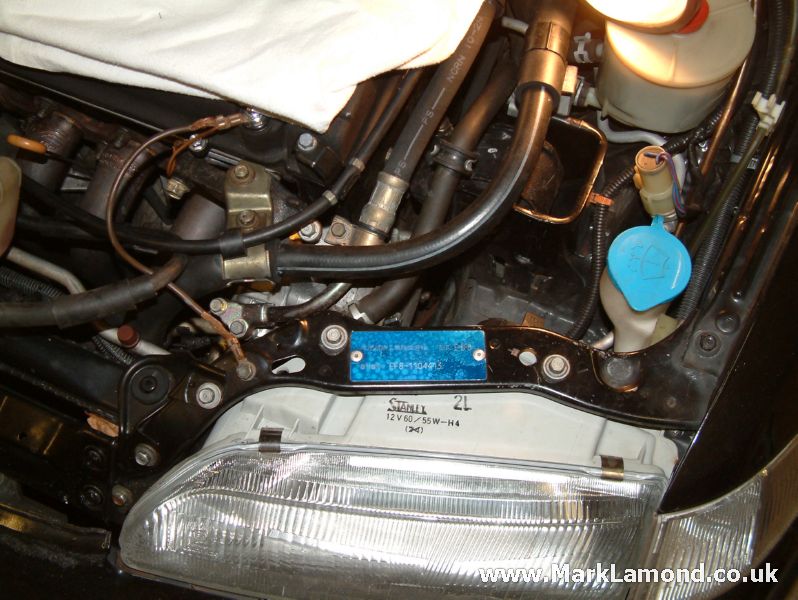
Remove the support for the A/C pipe from the top of the
power steering bracket and flip it back out of the way.
Wind back the tensioner screw for the pump also with a
10mm socket.
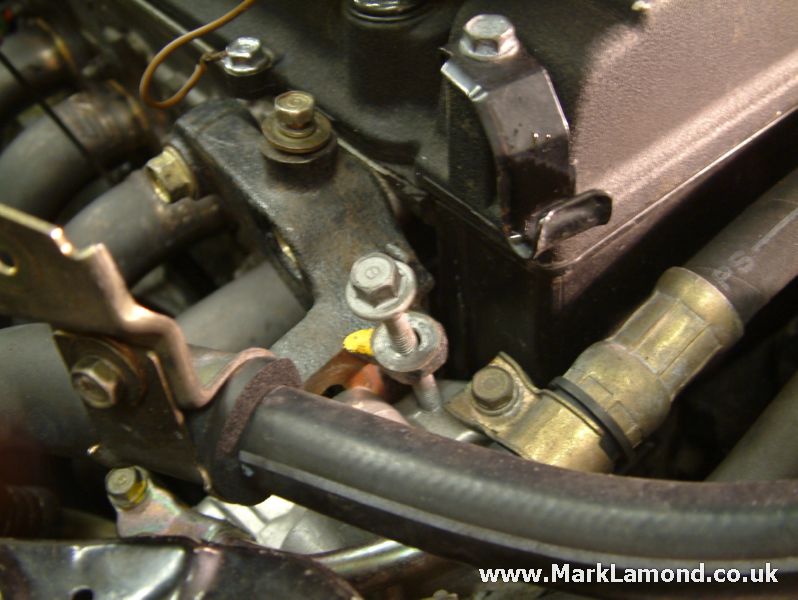
Remove the upper and lower retaining bolts for the power
steering pump.
Lay a shop towel on the rocker cover to protect it from
scratches and lift up the power steering pump out of the
way, with the hoses attached.
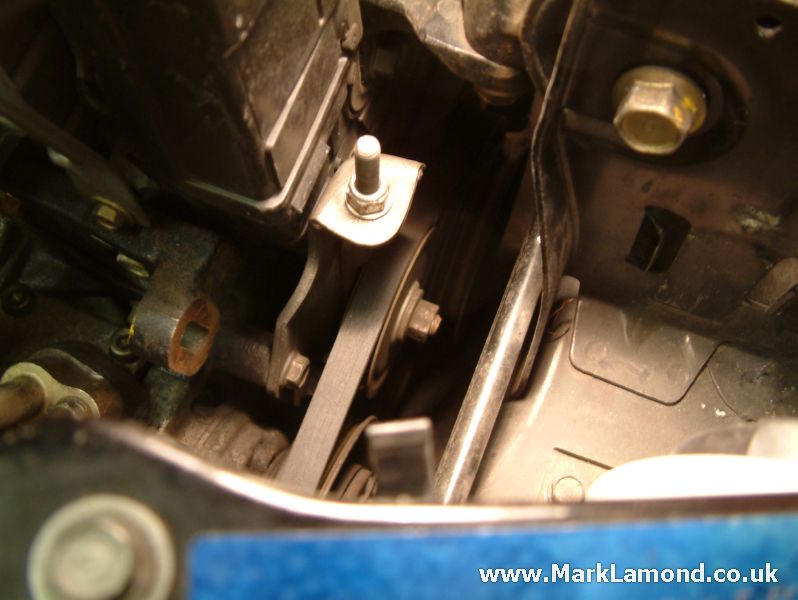
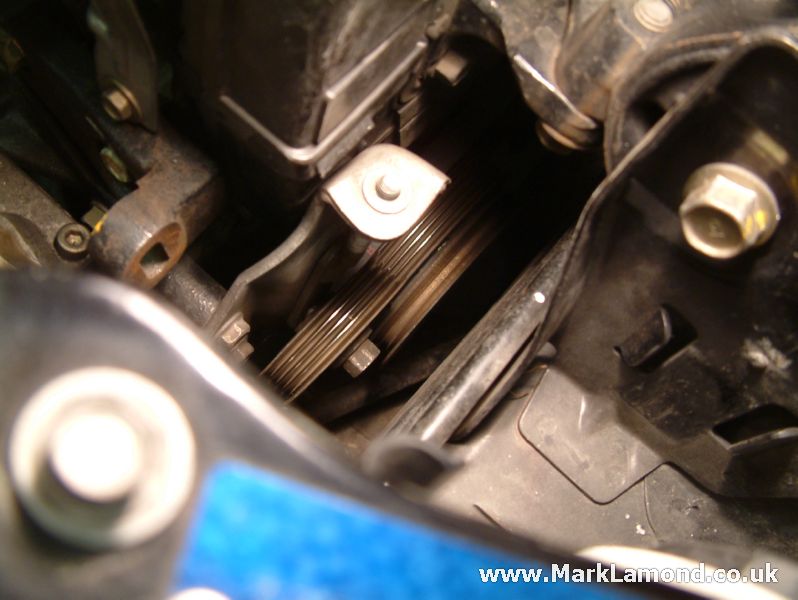
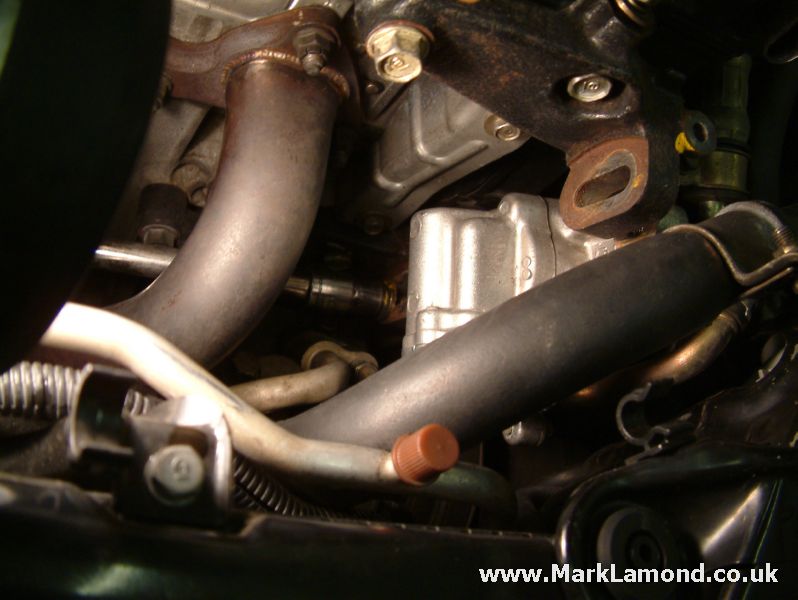
You can now gain easy access the A/C pulley setup. Wind
back the 10mm tensioner nut and loosen the 14mm pulley
nut which will allow you to remove the belt. If you are
not removing the tensioner, then you need only crack the
pulley nut to allow the tensioner to drop.
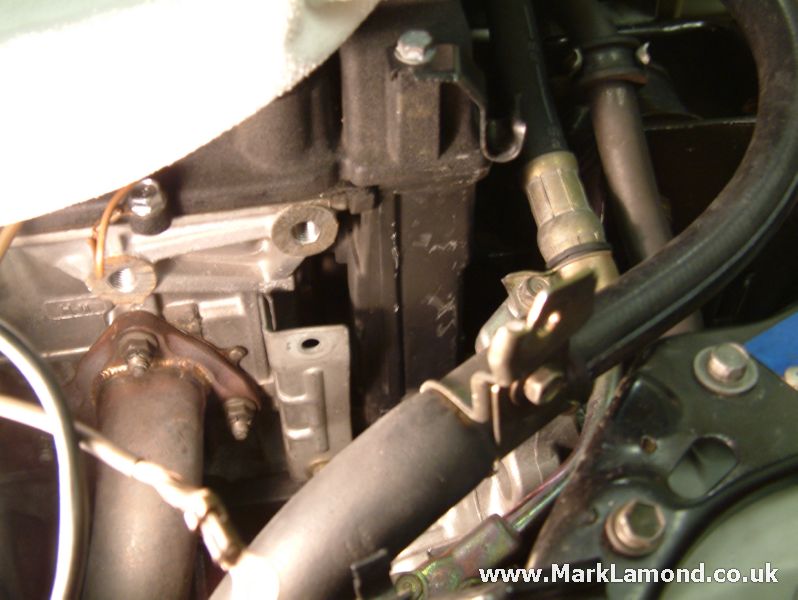
Refitting
Refitting is the reverse of removal. Be careful not to apply too much tension to either of the belts.
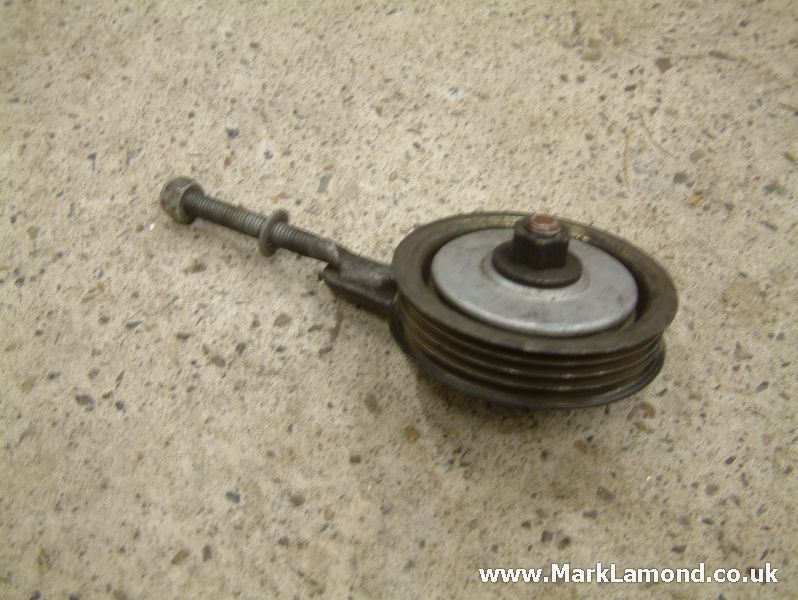
Replacing the Tensioner Bearing
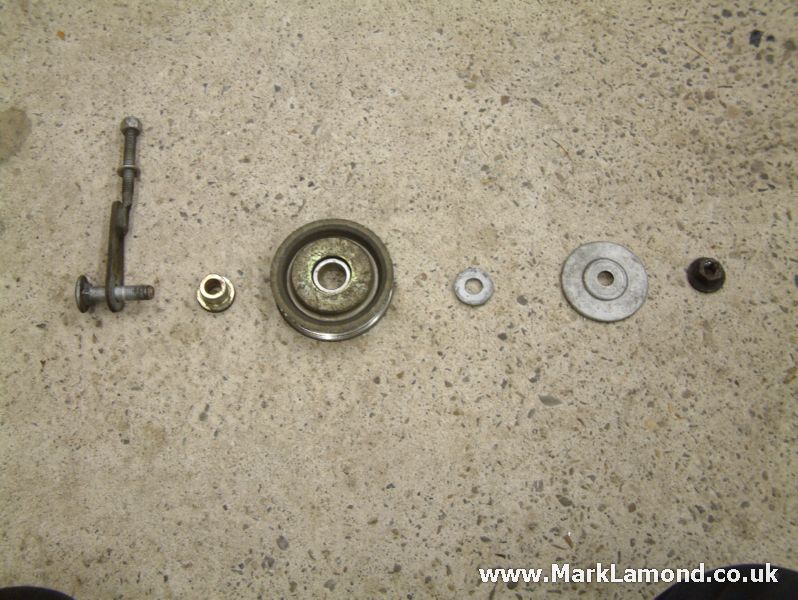
An exploded view of the tensioner assembly off the car -
this is a useful reference if you drop any of the parts
while removing it.
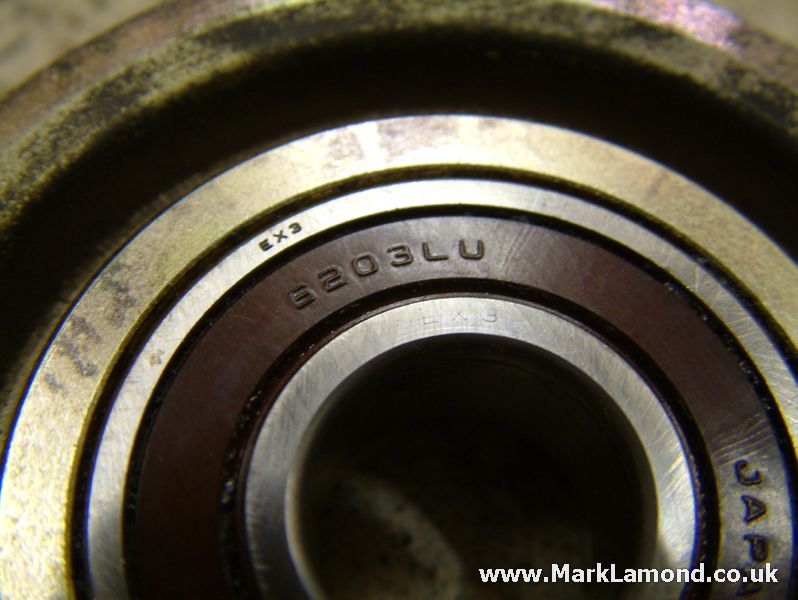
A close-up of the code numbers on the tensioner bearing.
To save money you many be able to purchase a new bearing
and press the old one out as an alternative to buying
the assembly complete from Honda.